


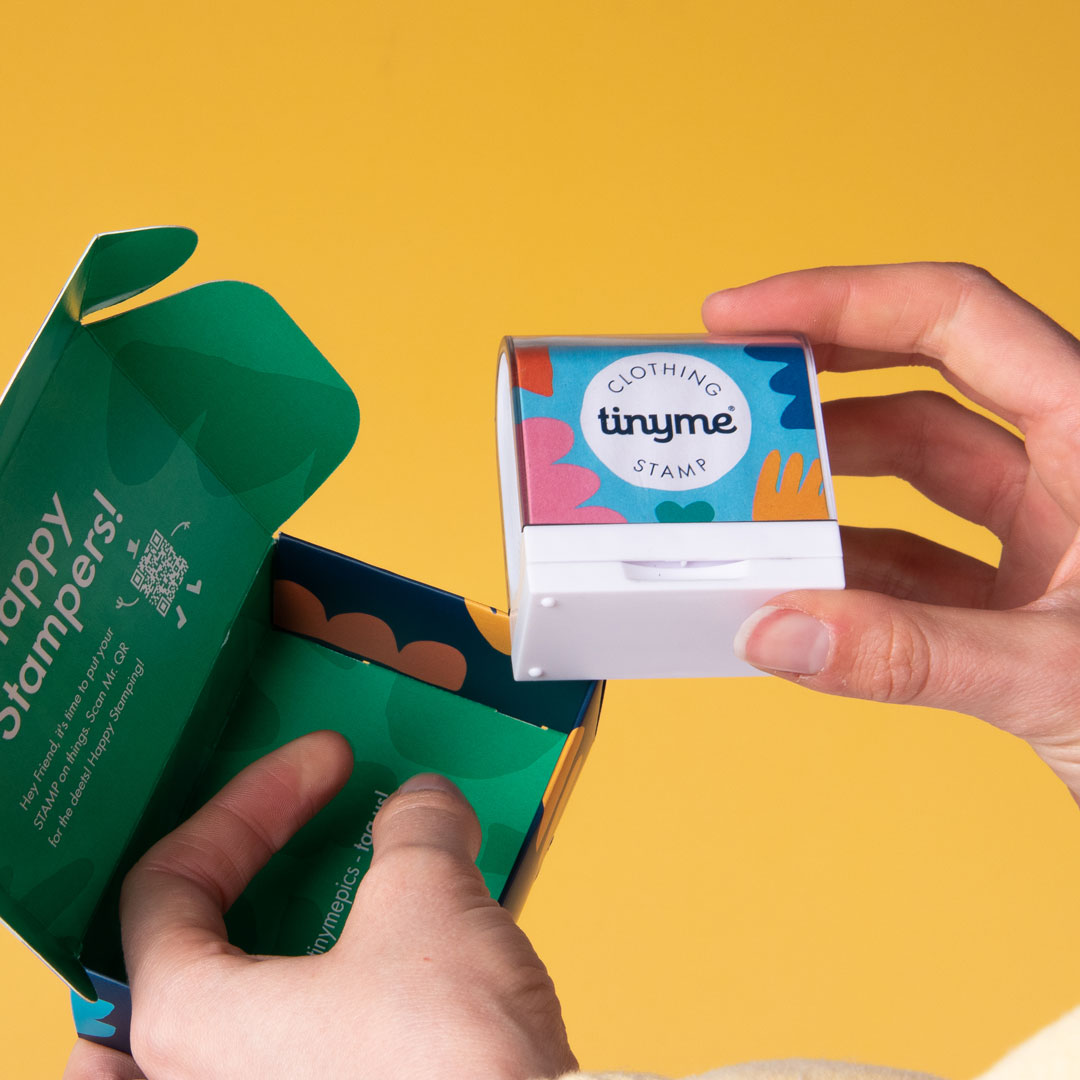
Welcome Happy Stamper!
Tinyme Name Stamps are lovingly pre-inked in the Tinyme Studio, and are ready to get STAMPING the moment they're out of the box!
Recommended Fabrics
• Cotton
• Elastane
Unsuitable Fabrics
• Nylon or Polyester
• Smooth or Satin
• Clothing Care Tag
Before You Apply
1. We recommend testing stamping on a spare piece of clothing or paper to perfect your stamping quality (imprint location & pressure).
2. The clothing ink may bleed through thinner garments, so get your Blank Iron-On Labels ready if you have them.
Note: Applying greater pressure while stamping will result in more ink being released during the imprint.
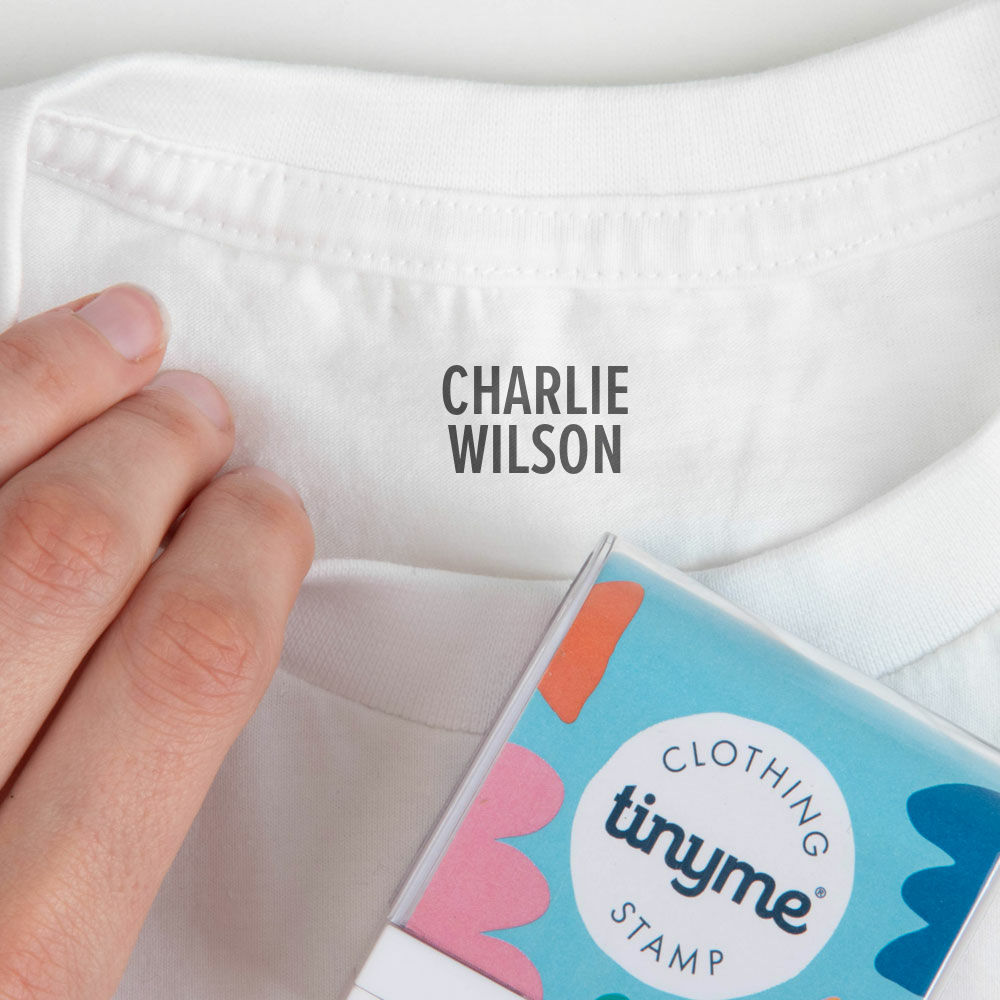
How To Apply
1. Lay your garment on a flat, smooth and hard surface.
2. Locate the desired stamp location and apply moderate pressure to leave an impression.
3. Leave for 24 hours before use or washing.
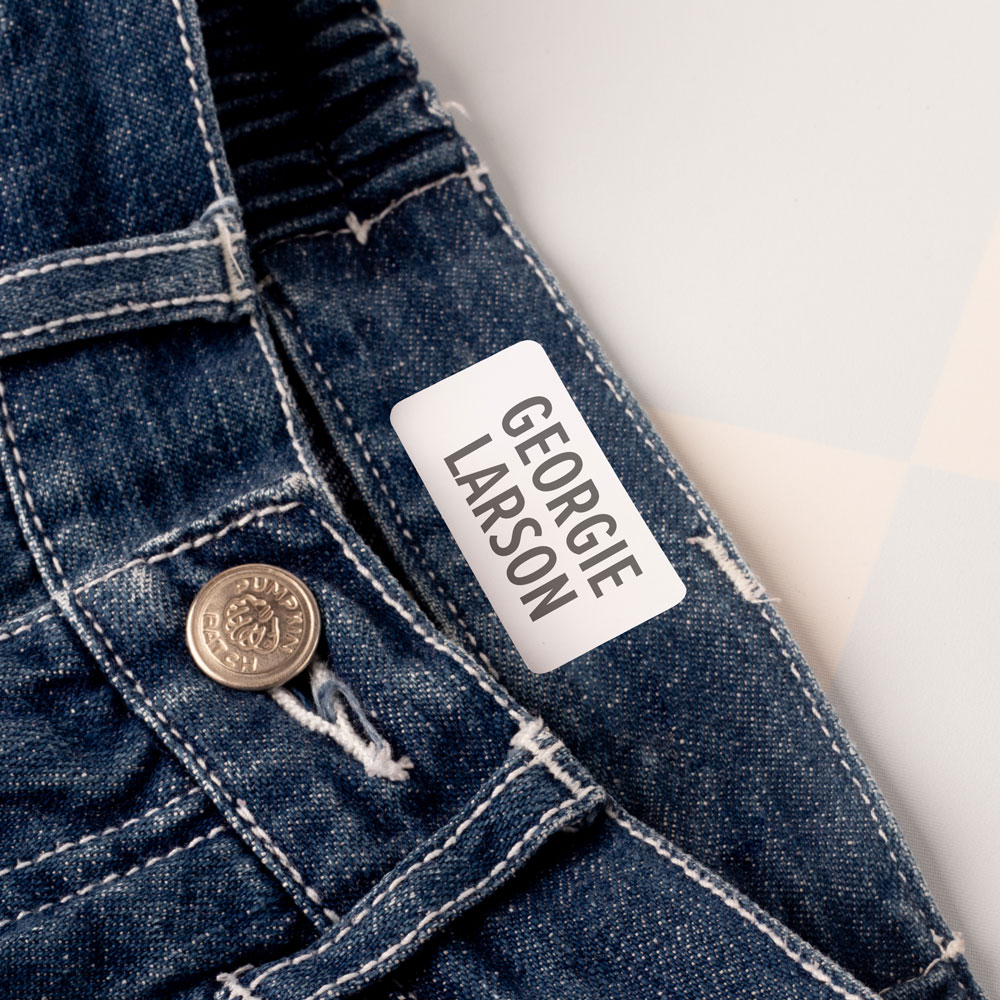
For Darker Or Thin Fabrics
Use our Blank Iron-On Labels to create a clearer impression for thinner or darker clothes. To apply;
1. Peel a blank label from the Blank Iron-On Labels sheet.
2. Use a dry iron to apply the blank label to the dark garment.
3. Wait for your label to cool down, then STAMP AWAY!
For detailed instructions on how to iron on your label, click here


Login and Registration Form